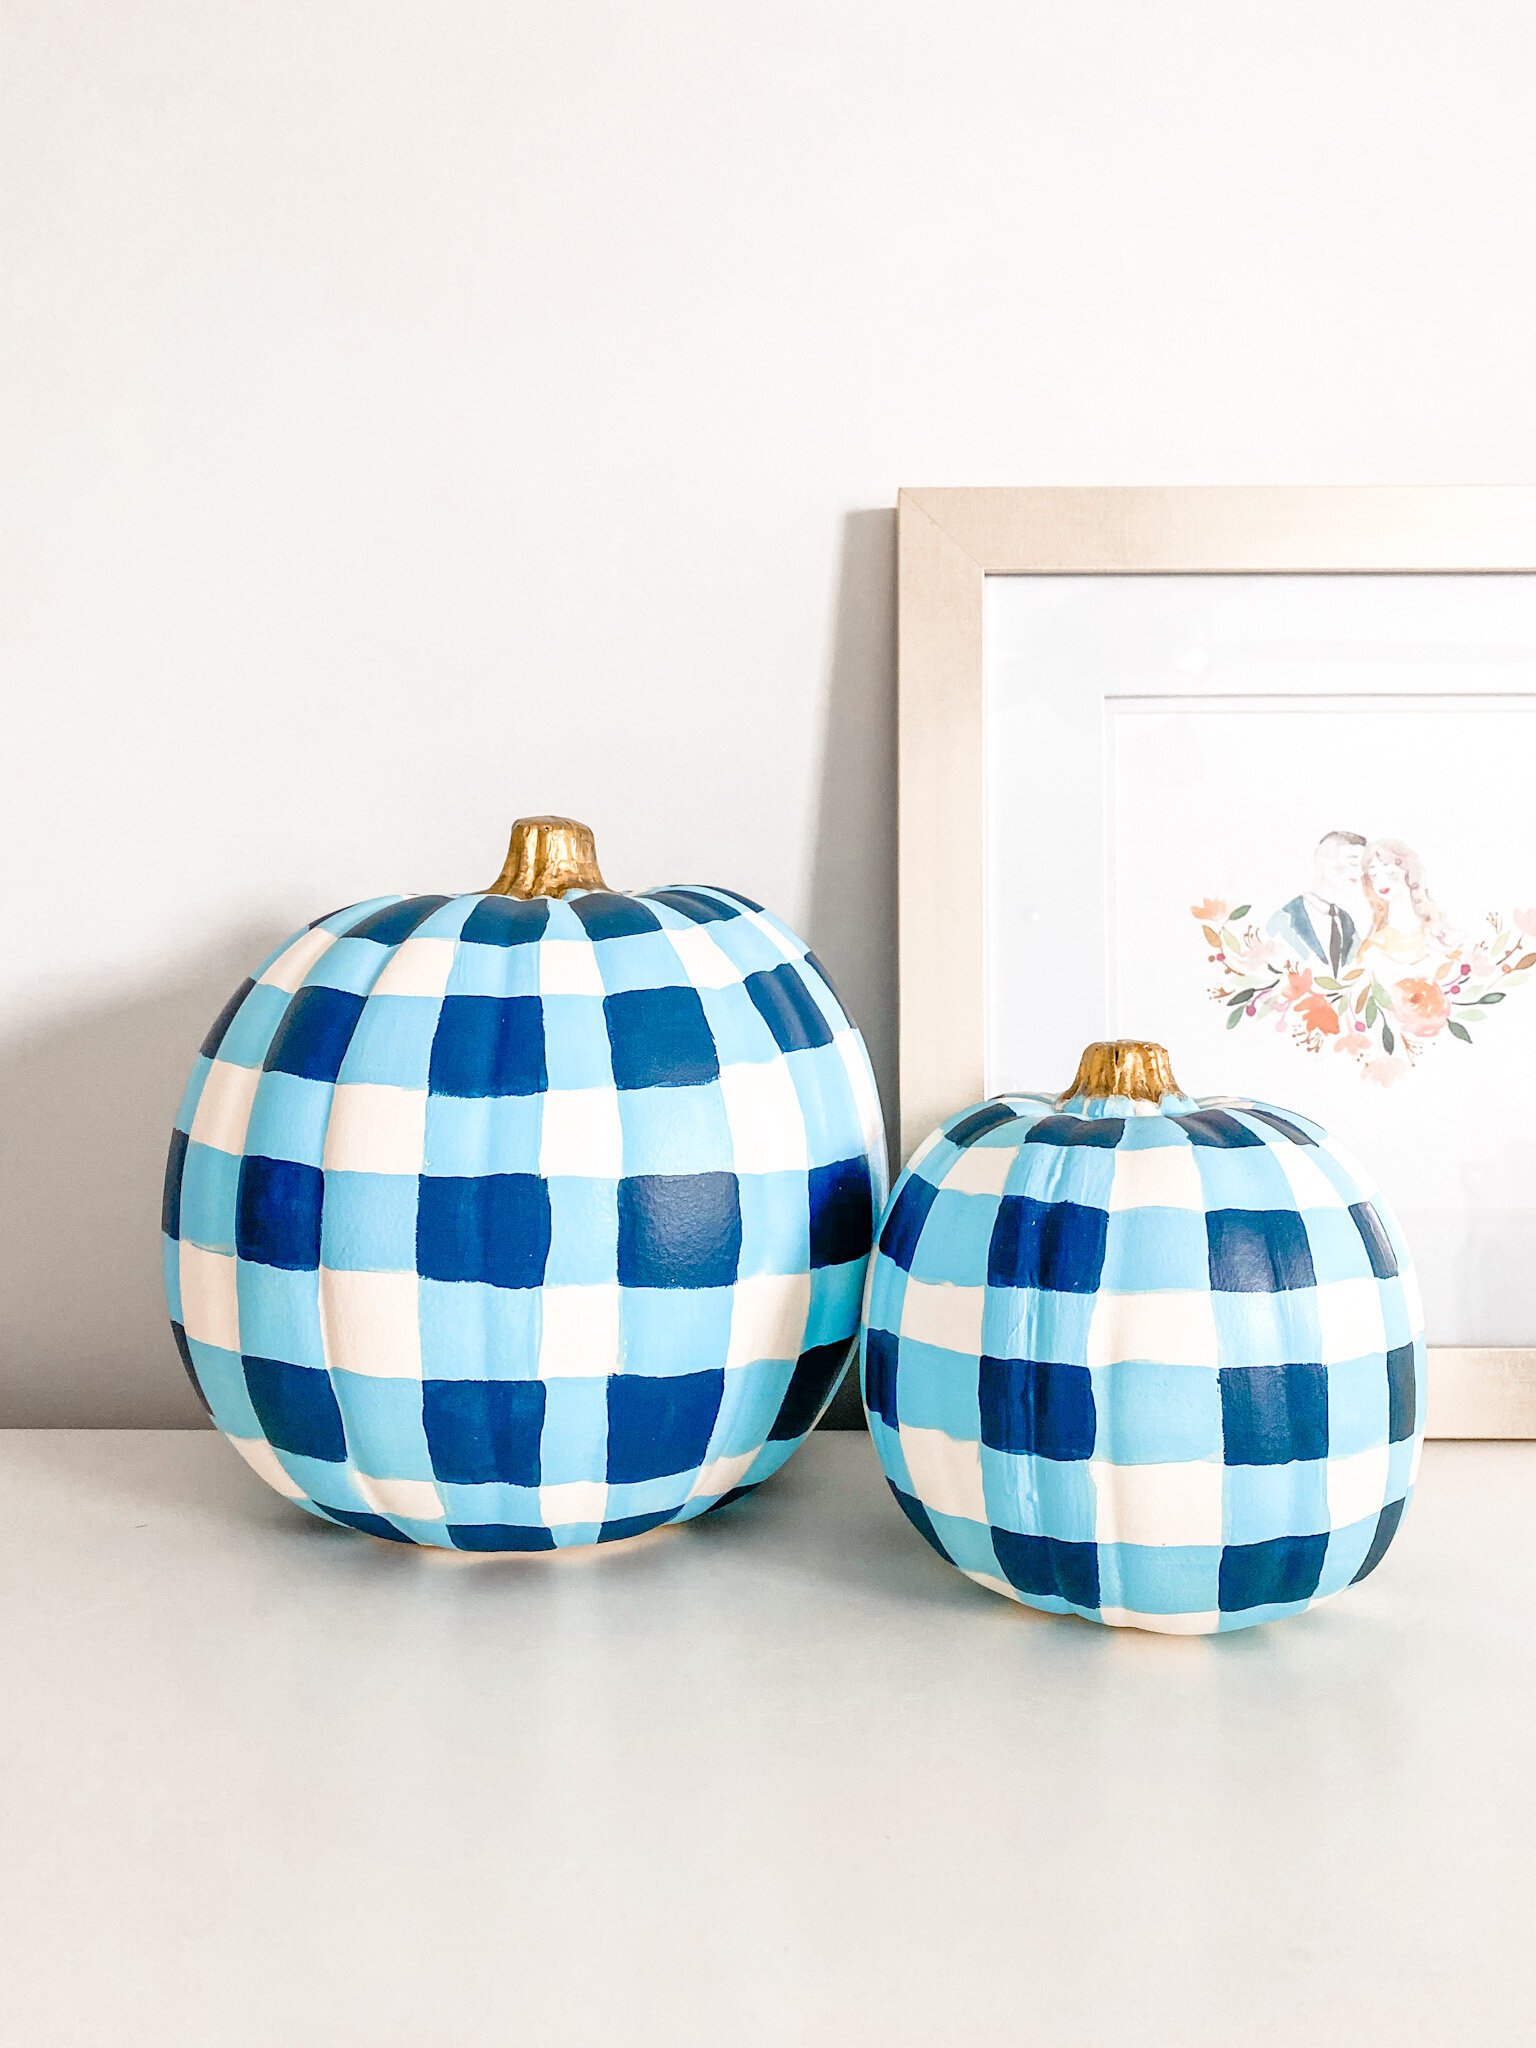
Gingham Pumpkins
Perfectly imperfect little DIY gingham pumpkins!! This is a project I’ve repeated the last couple years after first seeing Kelly in The City paint some pumpkins like this a few years ago! I add a few to my collection each fall. Painting something as simple as lines and squares is very soothing.. I watch for the plastic “craft pumpkins” to go on sale (and even then they aren’t what I would consider cheap) and buy a couple.
How to paint your own gingham pumpkins! These little beauties require zero crafting experience and they’re a fun - and dare I say, relaxing - craft project to work on at your leisure this fall!
Supplies
White Craft Pumpkin
White Paint (I use an antique white color)
Light Blue Paint
Navy Blue Paint
Metallic Gold Paint
Paint brushes
Something to protect your surface (I use waxpaper)
Something to contain your paint (I use a paper plate)
Clear Enamel Top Coat (in a spray can)
Primer for painting plastic (optional)
How I Paint Gingham Pumpkins
Find an area where you can paint and leave the pumpkin to dry before you get started. You’ll need to allow the pumpkin to dry completely between each layer of paint so this is important.
If you choose to prime your pumpkin, you will need to do that first and allow at least a few hours for it to dry. (Read the can to decide the appropriate drying time) I have primed my pumpkins some years and others I don’t. It’s up to you.
Prep your supplies. Lay out a piece of paper or something to protect your surface.
Paint the pumpkin white, except for the stem. Allow to dry.
Paint light blue vertical stripes from the stem to far enough down the pumpkin that you don’t see the end of the line when the pumpkin is flat on a surface. I like to taper the lines out from the top and bottom to have nice sized square “intersections” for the gingham pattern.
Next, paint horizontal lines around your pumpkin with the same light blue paint, taking into account the spherical shape of the pumpkin.
Once the light blue paint dries, I do a second coat, carefully staying within the lines. Work slowly to ensure you don’t have a run away paint brush. Allow to dry.
Paint the “intersections” of the light blue lines with navy blue paint. I use a slightly more narrow brush with a good straight edge (don’t look to me for technical painting terms y’all) and carefully shape up each intersection to look like a square, making sure to define the corners of each “intersection square.” Allow to dry.
Apply a second and potentially third coat of navy blue paint if necessary. Touch up any light blue areas if needed. Allow to dry.
Paint the stem gold. Allow to dry. May need an additional coat.
Once all colors are complete and dry, prep an area outdoors with plenty of space and spray the pumpkin with a clear coat. Once dry, you’re ready to decorate with your gingham pumpkins!
Notes
About priming: I don’t think it’s absolutely necessary that you prime your pumpkins but it is up to you. If you’re going to decorate outdoors with the pumpkins, you may wish to prime. I generally keep my plastic pumpkins inside and I’ve had them for a couple years… as long as I’ve sprayed a clear top coat, they’ve held up great!
I’m hoping to make a Reel on Instagram showing a quick run through of how to paint these pumpkins so stay tuned! Somewhere on my Instagram “Crafts” highlight, you’ll also see the process of painting the pumpkins a couple years ago!
Other Blue and White Fall Decor
I also recently tried my hand at some decoupage blue and white pumpkins for a little more grandmillennial/Chinoiserie fall decor. As you can tell from the photos, the first round didn’t turn out as stellar as I had hoped. But they’re still kinda cute! I have another type of napkin I want to try and I’ll let y’all know if they turn out any better!
I’ve linked the pumpkins used for the painted gingham pumpkins and the napkins for the decoupage pumpkins below. The paints were purchased at Hobby Lobby, as well as the small pumpkins and Modge Podge for decoupage.


